 |
| The Creeper! |
The long awaited (at least by me) completion day has finally arrived! At least the physical/component construction phase at any rate.
BEHOLD! The Creeper!
Over the last 8 posts, I pretty much changed my mind several painful times, and no difference in this post. But that can wait. Did I mention....
BEHOLD! The Creeper!
You can't imagine how relieved I am to finally reach this stage. I started to wire things up a bit but am extremely unhappy with the prefab wiring I purchased, they are either too short or too long and the connections are too weak. You can see all the wiring hanging out the sides, oh well, a challenge for another day. Right now I'm thinking i'm going to
Google around a bit to figure out how to make my own cables.
 |
| click to see larger version |
 |
| click to see larger version |
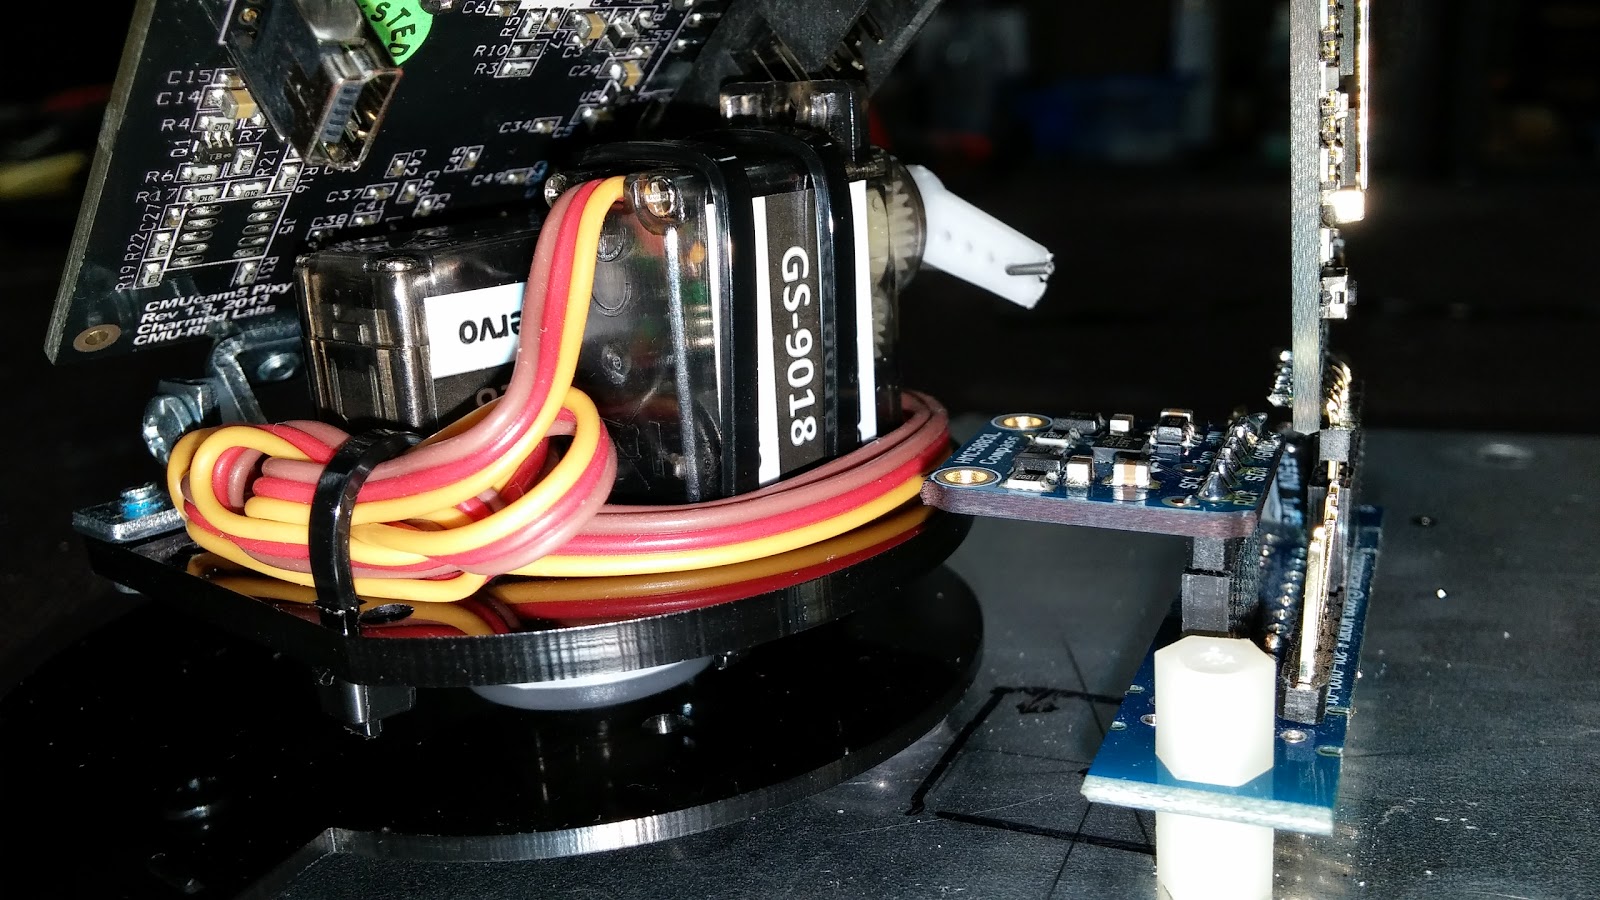
Anyway, as I hinted earlier, I changed my mind quite a few times down this road, and since my last post, yet again. As I was locating parts and drill holes, I noticed that the compass module, located where I wanted it (top dead center, remember?) would place it very close to the servo's on the PIXY. This had me a bit concerned, so I paused and
googled about that compass module we have, and it turns out I was right. It is sensitive to servos and motors and everyone recommends to locate it as far away as possible from both. I still have the bluetooth located next to it, this may cause a problem down the road, but that is yet another bridge for another day.
 |
| the Pixy pan/tilt base plate |
So, back to the drawing board. I decided to remove the compass and set it aside for now. I have a new anchor item, the PIXY has to go on first. Lets figure out how to mount it and then worry about the compass.
 |
| PIXY pan/tilt base mounted |
In order to mount the PIXY, you first have to disconnect the base plate and locate it. Mark your mouting holes, drill, tap. Now, when you screw down the plate, it is made of plastic, so I was afraid I was going to break it if I made the screws too tight. I luckily bought some nylon washers earlier at Home Depot, they were almost the perfect thickness. I put a bit of
loctite on the threads, screwed it down snug... the PIXY will remain secure.
 |
| for mounting PIXY to servo plate |
The PIXY attaches to the servo plate that mounts on the base plate, this is done from the bottom, so I drilled a hole big enough to be able to get that tiny screw back in the servo plate that the PIXY mounts to.
Thats done. Now lets worry about out compass.
 |
| Bluetooth and compass at back of robot |
I think the farthest point away from everything, the drive motors, the Arduino, power conditioning circuit, motor controller, etc.... would be on the very back of the bot. Mounting it 180 degrees out of phase would take it even farther away from everything, no biggy, we will deal with phase correction in software. This picture shows them mounted on the back, 180 degrees out of phase.
Next up, WIRING. Lessons on making your own custom connectors coming to a blog near you....
Then.... testing out the component parts. First the IR Distance sensors, then the compass, then the bluetooth, the compass -and- the bluetooth, THEN the PIXY (hardest for last).
Until then, I'll leave you with one more shot of THE CREEPER!
 |
| The Creeper. |
No comments:
Post a Comment